Showing posts with label banner. Show all posts

Friday, July 18

STAR FRAMELITS WINDOW CARD

HEY BLOGGIES,

Today I have a card that I made using my SKETCH FRENZY FRIDAY sketch. I created the sketch before I realized that 3 of the framelits cannot make it all the way down the card diagonally. So of course I had to change it up a bit.

Here is my sketch for this week:


And here is my card.

 I used cherry cobbler and daffodil delight cvard stock.  Then I used cajun craze, pumpkin pie and cherry cobbler inks to both sponge and stamp the layer behind the stars, as well as the front of the card.

 I used a bitty star punch for the two little stars of daffodil delight,  The red button is from the brights collection of buttons.
I created the banner myself by scoring two places on each end of the strip of paper and then cutting a flag on both ends.

Hope you enjoyed my card and my sketch this week.  Won't you create a card and share it with us on SKETCH FRENZY FRIDAY CHALLENGE?

Friday, March 14

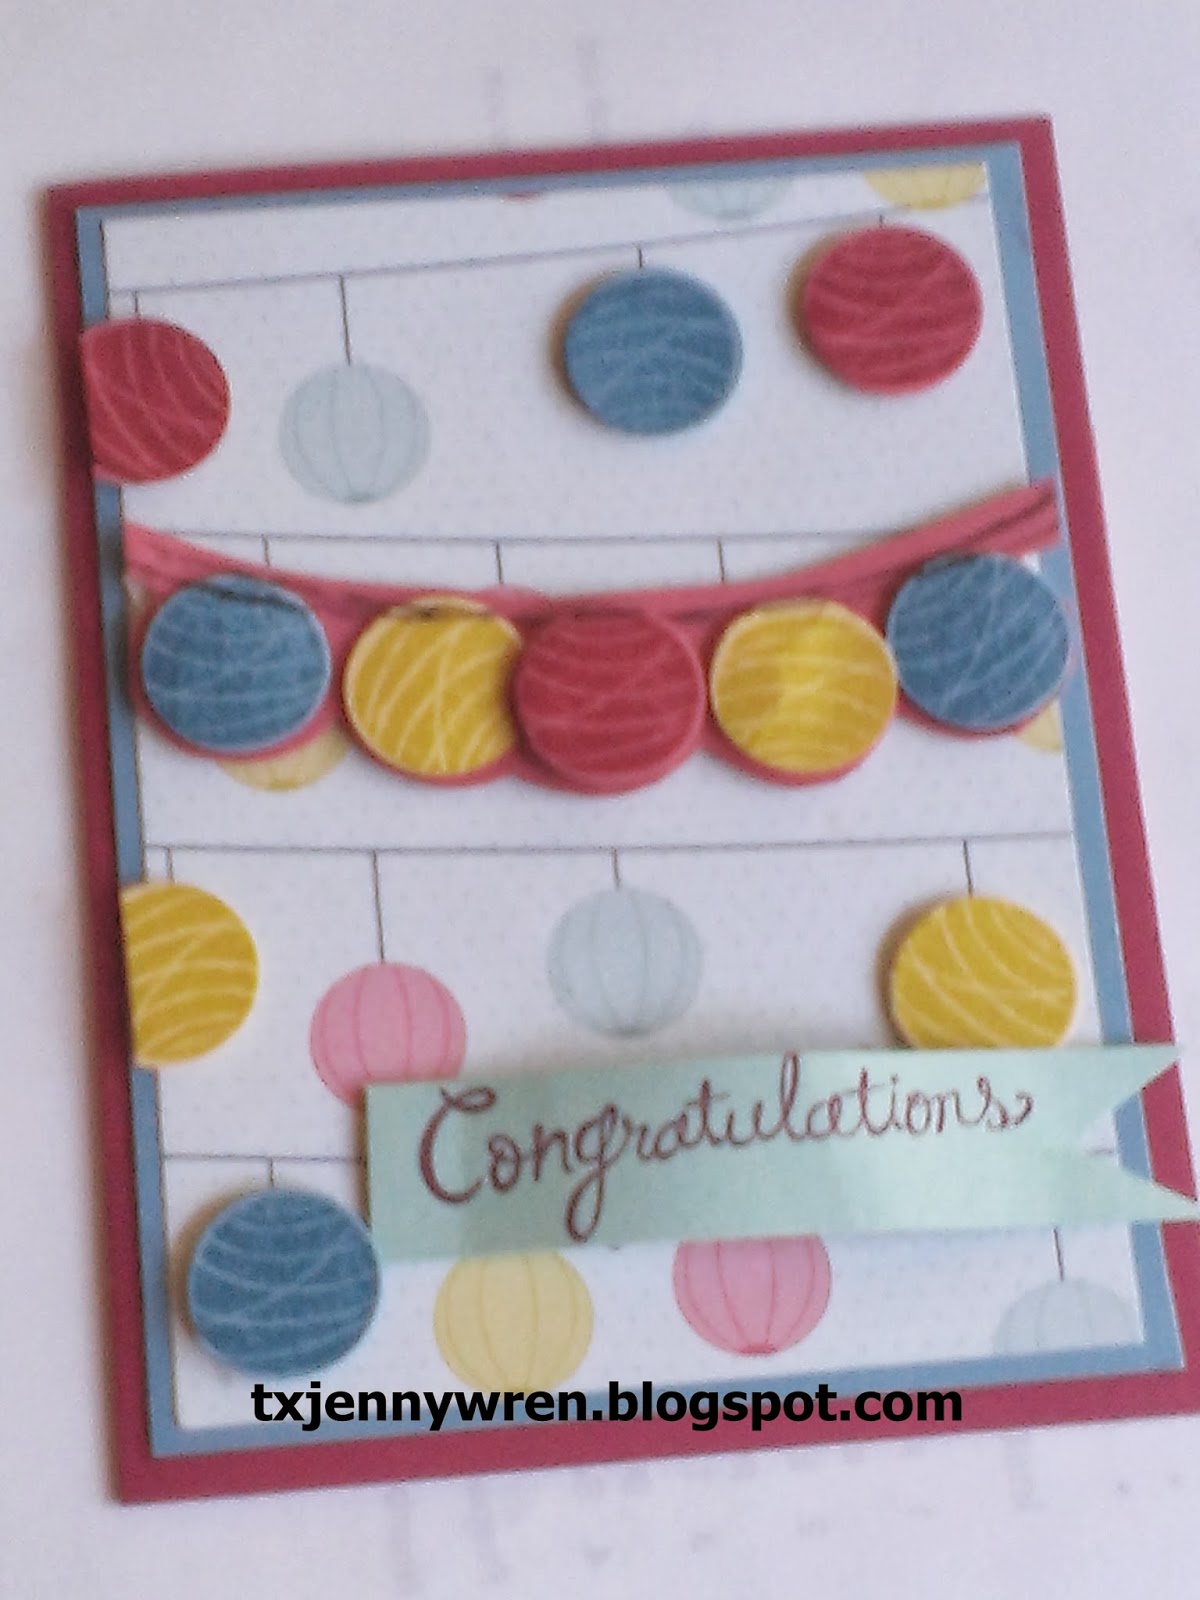
HAPPY CONGRATULATIONS CARD

HEY BLOGGIES,

Today I have a fun card for a congratulations to someone.  I used the HAPPY CONGRATULATIONS stamp set and some designer paper to create it:

 crushed curry, raspberry ripple and a blue I can't remember at the moment are the colors I used on this card. (man I hate how my memory takes a nap on me so often!!)


Here is a closeup to show you how I did the 3D lanterns on the patterned paper.  I stamped and then punched them out and used dimensionals to pop them up.  The middle part was completely popped up, even the background raspberry ripple paper from the first layer.

A congratulations banner was popped up at the bottom in a lighter blue than the lanterns.

Thanks for stopping by.  I have entered this card at Sketch Frenzy Friday.  Here is the sketch from Kathy  for this week:

Why don't you click on the link and join in with all of us.  It it is a fun and simple sketch that can be used by everyone.  Thanks, Kim Innis for this fun sketch.

Thursday, November 7

HOLIDAY BLOG HOP - DAY 3

HEY BLOGGIES,

Have you been enjoying the hop?  I certainly have and am inspired by everyone's projects.

One of the things I LOVE to make are these special banners that fold up into these metal cases.  I give them to special friends and they are also great to mail in an envelope.  The metal case protects them on their trip.

You can make the letters in several ways.  Use the Alphabet Die for your Big Shot, use the stencil that comes with the Banner Kit in the Holiday Mini Catalog, or I used some retired alphabet sheets that were on the clearance rack.

I used the wide 1 1/2" striped ribbon.  This year they have the beautiful cherry cobbler wire edged ribbon you could use.  Use TWO scallop squares and glue them on both sides of the ribbon for each letter.


I used the postage punch and some designer paper here, also a button.


I love adding the ornament inside the "O", and hanging it with a ribbon and cord.


We decorated each scallop square any way we desired.  Here is a button and a tree with pearls.


Putting it on our table protector pages, it gives you an idea of just how large and beautiful these are.

Here is the metal tin decorated and all tied shut to be delivered to that special someone.  The banner is folded up inside this pretty tin.  A GREAT gift!!

Hope you enjoyed my idea.  You can spell whatever you want and use whatever papers, ribbons, punches, and embellishments you desire to create your OWN banner.  HOPE, PEACE, LOVE, etc. are just a few suggestions for what you would make with YOUR banner.  I would love to see what you create.  Please share with me if you make one from my inspiration, won't you?  I would really enjoy seeing what YOU CREATE!!


Next up is my friend DE.  Click the next photo below and go see what fun she has prepared for you.


Friday, October 18

FRIEND CARD

HEY BLOGGIES,

Sometimes we just need a "because" card or a "friend" card, don't we?  Well, today I have one of those to share.  I used several techniques on this one, including:


  • painters tape
  • torn paper
  • semi-layering
  • banner
  • sentiment sideways
Let's have a look, shall we?

 It is a cloudy, overcast day so my natural lighting is not very good.  This is so safron and Island Indigo, FYI


On top of the banner is a 2 1/2" circle punch of so safron with a Flower Shop flower stamped in Island Indigo.  I had this little "friend" stamp laying around and not sure where it came from, but I think it is perfect for this simple embellishment.

One last look at the torn layers, painters tape inked layers and the fun banner and embellishment.

Entering this card at:

Techno Stamper Monday Lunch Sketch

Sunday, September 8

HALLOWEEN BANNER

I CREATED A HALLOWEEN BANNER THAT I THINK IS SO CUTE!!

 Here is my version of the SPOOKY banner.  Each letter is on a 5 x 7 flag and decorated.

 Some up close views of the letters and my decorations on the banner.  I used DSP as a half-medallion, washi tape, DSP mini banners and flags, and punches.

The letters are from my BIG SHOT and the ALPHABET DIES.  I sewed the ribbon onto the banner.

Thanks for stopping by my blog today.  I sincerely appreciate your support!!  It makes it more fun to make projects when I know others appreciate them.

Hope to see you tomorrow.

Friday, September 6

MORE HALLOWEEN PROJECTS

HELLO BLOGGIES,

Welcome back to my blog.  I am so glad you are here today.  I have another fun Halloween project to share with you.

Another card using the Witches Brew dsp from Stampin' Up!  I am entering this card in the MOJO Monday challenge this week. I am loving the summer starfruit with the black and orange!!

I added a black ribbon with some white stitching and tied it in a knot.  I stamped on summer starfruit the "friends forever" with black ink and then layered it with black card stock.

 I stamped the cat with black ink and then used clear embossing powder.   Here is a closeup of the scaredy cat element.  Cute, huh? I wish the shine showed up in the photo.  In real life it is awesome!!

Thanks for stopping by.  I would sincerely appreciate your comments and support.  Stop by TOMORROW for another HALLOWEEN PROJECT, won't you?

This card is entered at:

MOJO MONDAY
Freshly Made Sketches

Monday, November 14

MORE CHRISTMAS CARDS FROM CLASS LAST WEEK

My all-time favorite creation for Christmas is the J-O-Y banner that I store in the tin DVD cases from the clearance rack.  We made these for class last week and we had a blast with them.  They all turned out so beautiful too!!


 I put it longways on the stampin up desktop protectors so you could see the length we made it.  the squares are the scallop square die for the big shot.  The ribbon is the 1 1/4" stripped ribbon, then we punched out christmas trees and ornaments with the SU punches.  Also used buttons and ribbon for deco as well.  Now below is each letter up close to get a better view.

 With the square scallop punch we stamped out from the designer Christmas paper to decorate the J.
 Used the ornament punch and the Letters to Santa  DSP to punch out an ornament and hung with gold cord, bells and a ribbon
 For the Y we used the Pennant punch to make the Christmas tree, used the pearls to decorate the tree and then glued on a designer button with a 1/8 ribbon tied to it.

Here is the Y block again so you can see the bottom of the banner.  We tied a 1/2" ribbon onto the large ribbon and snipped the ends to add detail.  Then glued a large pearl onto the knot.

What do you think?  The back is the same color scalloped square to make it finished AND can be the place where you journal, etc. to make it your Christmas card!!

I decorated the dvd tin with the Letters to Santa designer paper cut outs and some ribbon to tie it shut.  What a pretty Christmas "card" to receive, don't you think?  IF you use my idea, please send them to my blog here in your description as a courtesy.  Thank you!!  Enjoy making this FUN banner with no ink involved this time!!